Friday, March 30, 2012

A sketch and an upcycled product

Here I go combining challeneges again.  This time it was Crop Chocolate's weekly challenge that was due March 20 - create a project using an upcycled flower.  And the other was the current Paper Girls challenge that is due today - use the sketch they gave.  Here is the sketch.

Something about this sketch spoke to me and said "one of those circles can be a flower"!!!  LOL

Then I had to figure out what I was going to use to make the upcycled flower.  A lot of the CC ladies used the packaging paper that comes with our CC orders, or soda cans, but I wanted to use something different.  Then when I saw one use a ribbon, and another use wire, it dawned on me that I could use....a SHOELACE.  And then I knew exactly what I was going to do. 

The first year I did the SGK 3-day walk, I had orderd SGK 3-day shoelaces.  Well they ended up being too short, so I stashed them away in my box of SGK stuff to save as momentos.  Luckily I knew exactly where that box was, and I pulled one out.  It worked perfectly (in my humble opinion).

Here is the LO I ended up with.  I ended up rotating the sketch 90 degrees because the picture I wanted to use was horizontal.  The CC bought products I used were: MME quite contrary Little Miss Muffet paper pack (including 12x12 paper, "Celebrate" die-cut (HIP HIP HOORAY), die cut stickers (arrow, butterfly, leaves and buttons), matching alpha, "Delight" journal spot).  Then I added MAMBI breast cancer cardstock (the one with writing), Queen & Co felt fusion border, and of course the shoelace.

When I first finished this LO, I didn't really like it because the title blended into the background too much, especially the darker letters.  So I posted it on the CC chat page, and asked for advice.  As expected, I got some awesome ideas - outline it with pen (black or white), use glossy accent, and stickles.  Since I didn't have much time to play around with it, I chose the quickest and easiest option - I pulled out my white gel pen and outlined all the letters.  I think it really helps make it work - it really lightens up the left side of the page.

To make the flower, I simply used my glue dots, and twisted the shoelace.  I did "mount" it on a piece of vellum to reduce the exposure to the paper below.  Hope you enjoyed this.  I had fun creating it.

Friday, March 23, 2012

The 2nd {unofficial} Crop Chocolate Blog Hop

Welcome to the first day of the Second {unofficial} Crop Chocolate Blog Hop.

Crop Chocolate is a one-deal-at-a-time website that sells AWESOME(!!!) scrapbooking/paper crafting supplies at reduced rates.  The selection is amazing, and the people there are great.  It's like a little family.  You should check them out also if you haven't already.  You can use the link to the right.

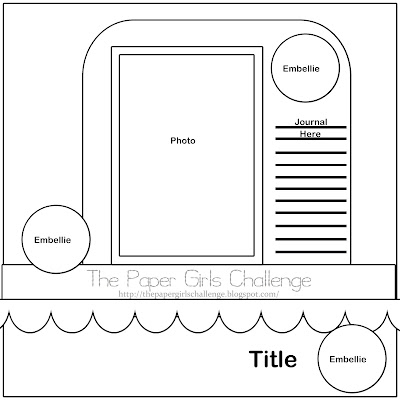
The theme of this blog hop is "bountiful borders", and we had to use some sort of border making tool to create a fancy edge on at least one side of our project.  Since I needed to make some thank you cards anyway, I decided that this would be the perfect opportunity.  And by doing this, I could make multiple cards, each one using a different border punch that I have. 
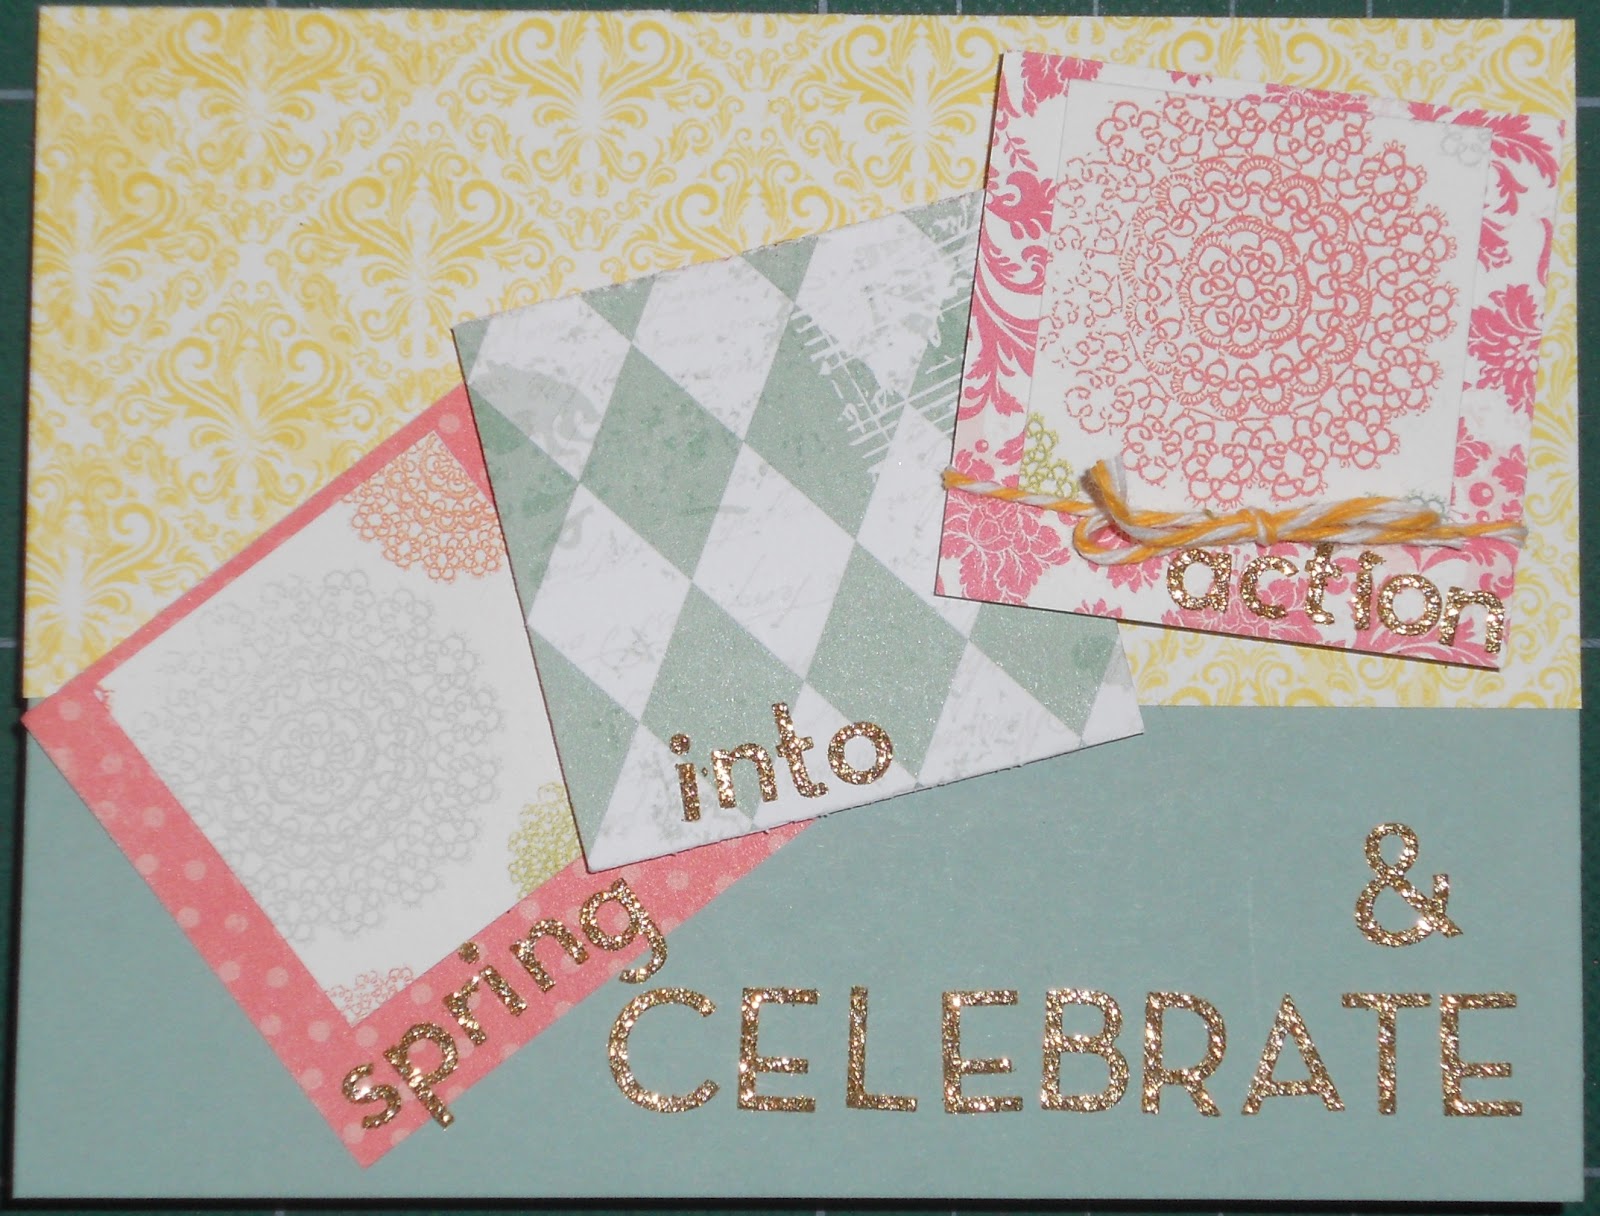
Here they are: 


The border punches are all ones that I've had for awhile, but are fairly classic in style.  So they fit a lot of different themes and types of projects.

Card #1 (upper left hand corner) was made using Bazill swiss dot cardstock, EP Springtime (I just love the colors in this set), The Twinery maraschino cherry baker's twine, MM oval vellum tag, Mrs. Grossman's stickers, and Fiskars lattice edge punch.

Card #2 (upper right hand corner) was made with Bazill swiss dot cardstock, EP Victoria Gardens, MM fresh anthology picot daffodil ribbon, MM rectangle vellum tag, Mrs. Grossman's stickers, and Martha Stewart butterfly edge punch.  If you look at the closeup, you can see that on this edge punch only half of the butterflies are fully punched through the paper.  The other half are simply outlined.  To emphasize this and give your project a little more depth, you can gently pull the wings out and fold them up a little bit.


Card #3 (lower left hand corner) was made with Bazill swiss dot cardstock, EP Springtime, Mrs. Grossman's stickers, corner punch, and SU scallop edge punch.  This is such a simple card, but the edge gives it that extra oomph (I was going to say punch, but figured that was obvious).  LOL!!

Card #4 (lower right hand corner) was made using SU sage shadow cardstock, EP Victoria Gardens, MM fresh anthology picot daffodil ribbon, MM oval vellum tag, Mrs. Grossman's stickers, corner punch, and Fiskars doily edge punch.  I don't think it really is the "doily" punch, but I don't remember the exact name.  That's just what it reminds me of, so that's what I call it.  LOL

I also added some faux stitching on this one to imitate a quilt, as that is what the design reminds me of.


If you like this or want to make comments about this project (or my blog in general), feel free.  You can also become a follower so that you can keep up with what I am doing next. 

If you comment on ALL the blogs in the hop, you are eligible to win some blog candy (12×12 Hello Spring Mini Theme Kit by Echo Park and another is a 12×12 Fourth Of July Mini Theme Kit by Echo Park (generously donated by Echo Park Paper Co.)).  What awesome prizes!!!!  You will have until 8am MDT on Tuesday, March 27, 2012 to comment to be eligible to win.

If you happened across here, but haven't seen the blogs previous to mine, you can start at the beginning - at mommyx2's blog - http://craftylove4mytwins.wordpress.com/

To continue with the blog hop, please visit Paula at http://craftycutsbypaula.blogspot.com/
Thank you for stopping by and I hope you enjoy the rest of your weekend.  HAPPY Spring Everyone!!!

Friday, March 16, 2012

Paper Girls Challenge this week

This week's challenge over at Paper Girls Challenge Blog was to use a stamp as a background or accent.  This is only their third challenge, and so far I have loved every one.  I hope to be able to continue participating.  Luckily they give you almost two whole weeks to complete a project for the challenge - I think that's what is going to save me.

Anyway, it's been awhile since I've played with some of my stamps.  I've been buying so many awesome patterned papers from CC, that I haven't had the excuse or reason to make my own.  Well, this challenge gave me that excuse - I loved it!!!

I decided to do both a stamped background and stamped accents.  Since I have wheels, it's easy to stamp a background.  I even pulled out some older pictures of my DS to use one this LO.  These are from when my DH and BIL had to travel to Boston for work during Christmas break.  Since my BIL is from Boston, my sister decided that she was going to go with them.  So the two of us followed the guys and made it a road trip with three kids under 5.  Of course, once we got there we had to find things to do - LOL!!  One of them was to go to the Children's Museum of Boston - they absolutely LOVED it there!!!  Here is the LO of my DS enjoying himself at just about every exhibit we felt was appropriate for an 18month old.  He bounced back and forth between some of them a lot.

For this LO, I used a lot of SU products - Simiply Scrappin' Primary Colors, Crayon ABC's wheel, Crayon Kids stamp set, Ruby Red ink, Brilliant Blue ink, Riding Hood Red ink and watercolor pencils.  Then I rounded it out with MM kids fresh sticker alphas - spotlight, and American Traiditional Deisgn - chipboard alphas.  The layout idea came from Sketch Inspirations - #233.

Two challenges in one project

I love it when I can use one project for two challenges.  It totally saves me time, which I definitely need.  This time I was able to use a card I made for the CC challenge that was due on Tuesday (3-13) and the HIMCR scraps challenge due today.  The CC challenge was a recipe that required: 3 die cuts, 3 brads and something that sparkled.  The HIMCR scraps challenge is just that - use your scraps.

So I used some MME So Sophie Graceful paper scraps from a layout I recently did (I will post that later), and the die cuts that matched.  I also used MM fresh anthology picot daffodil ribbon, MM mini gold circle brads, my corner punch, MM crystal brads - circle clear (my sparkle), and Mrs. Grossman's sentiment stickers.  I realized afterward that I had double the brads needed, but I already had the gold ones in when I realized I needed sparkle.  And I couldn't find a different sparkle I like for this project.  Oh well!!!

Enjoy!!!  I think this will be going in my stash to use as opposed to sell.

Tuesday, March 13, 2012

Storage Box for scrap desk

This month's challenge for the Crop Chocolate design team was to create a project by either recycling or upcycling something else.  I had a hard time trying to decide what to do.  There were a number of things that I've held onto thinking I might be able to make something out of it, but nothing screamed "good enough for the Crop Chocolate shoppers".  Then I remembered I had these wood boxes from some Melissa and Doug play kitchen products, and I realized I could play with some products that I haven't before - distress inks and glimmer mists - and make a small organizer of sorts for my scrap desk.  I could use it to hold my post-its and paper clips that I use to mark magazines and catalogs with ideas I like.


So this is what it ended up looking like: 

It certainly turned out better than I was hoping it would. 

To see more information regarding products used and techniques, you can visit the Crop Chocolate blog.

I had a lot of fun using these products and will definitely use them again, and will look at using them in a lot of different ways.

Friday, March 2, 2012

PaperGirls Challenge - photo strips

This week's challenge at The Paper Girls Challenge was to create a layout using a photo strip type idea.  I always LOVE this kind of idea because I have so many sequence pictures of my kids.  I found these really cute ones of my DS when he was about 1, playing in his toy basket.  The whole concept of that started when my DH put him in there one time, just to see what would happen.  Well DS liked it, and then when he was able to, would start to climb in by himself.

I used SU Simply Scrappin kit - Toy Box (and old one that I've been saving up for just this kind of thing), OT flower and circle background shapes, MM metro mini shimmer alphas in gold, and 1.25inch and 1inch circle punches.  To give the circle a little more depth, I used a dauber and SU marigold morning ink to pat it.

I had a lot of fun with this LO, and need to use this concept more so I can get some more pictures scrapped.

HIMCR #35 - spring challenge

This week's challenge at Hiding in My Craft Room was to create something spring - like.  Usually by now I would have jumped on this much faster since I look forward to spring, but this year for us, the winter has been very mild.  So it was a little harder to get my spring paper out and use it.  But I did it, and actually combined this challenge with the current one on Crop Chocolate right now (see below).  Enjoy!!!


CC challenge Leap year

So this week, it was my task to create the challenge on CropChocolate.com!  Well, since it was leap day when it came out, I decided to try to incorporate some leap year trivia.  I found out that in the way olden days, it was determined that the woman could propose to the man on leap day (and only then).  So I decided to word the challenge as such: 

"According to folklore and tradition, Leap Day is thought of as the time when the woman can propose to the man. Of course, things have changed a lot since then. But sometimes, this still happens (luckily we don't have to wait for a 2/29 to occur). So create a project that depicts how you would have proposed (or would like to) to your significant other, or create an extra special birthday card for someone who has a 2/29 birthday. Use twine and some sort of leaping or hopping (animal, action, etc). Must use 50% CC product!"

Here is the project I made as an example.

I used EP 6x6 Victoria Gardens, bakers twine in lemondrop yellow, and France Meyer stickers (frog).  I fussy cut some slots in the peachy paper to insert the printed paper.  And I also cut out around the pattern in the yellow paper.  Then I sewed a jumping motion for the frog and popped the frog up with 3-d dots.  Then I added my engagement ring and hung it on a wine bottle.

Since I had a little trouble coming up with something to say and do, I figured others might also.  So then I added the birthday part to make the challenge a little less restrictive.  It still caused a little uproar amongst the ladies on CC.  So a lot of the other members of the design team have been helpful to make some really great projects to help others along with brainstorming.  I decided to make another project also.  This time I made a birthday card.

 I decided to go with a "springing" action.  As the squares twist, they also pop off the paper.  It's hard to see on this picture, so I added a closeup from the side.

For this one, I used EP 6x6 Victoria Gardens, SU cardstock in sage shadow, MM metro mini shimmer alphas in gold, and baker's twine in lemondrop yellow.